
Scoreboard Guide – online scoreboard to view graphic overlays
1. register
1 Instructions how to register with guppyi
2 Explanation of the menu items
3 Help
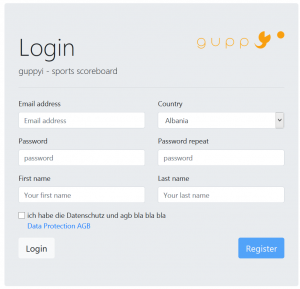
First, you have to register. Please fill in all fields and click the register button. You will receive a confirmation email. Please also look in the Spam folder of your email program.
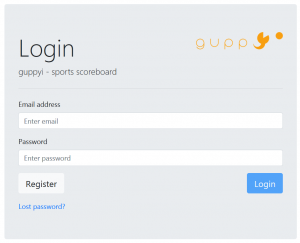
After confirming the email, you can sign up and create your teams.
Here we explain briefly where you can do what attitude and what which symbol means
![]()
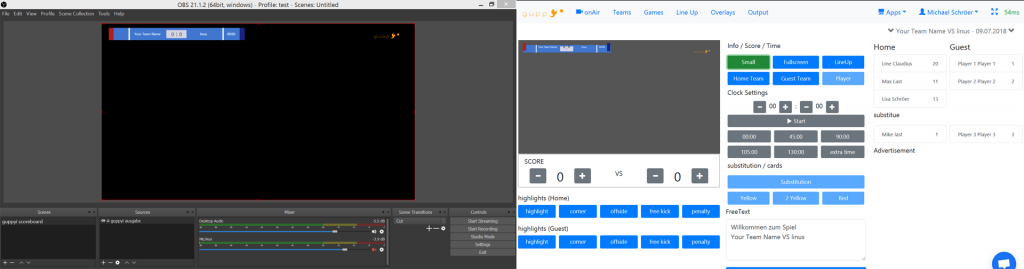
1. In the first menu item is the control of the scoreboard. There you can control what you want to show on your stream.
2. In the second menu item you create your teams, players, upload the club logo and the player pictures.
3. Under Game you can create the respective game encounters
4. In the fourth menu item you do the team line-up. Who plays where and selects the substitutes
5. Under overlay you can see which elements are displayed by which button
6. Under Output you set the output format and generate the output URL for e.g. OBS or XSplit
7. Under apps you can select the scoreboard as soon as we have added more sports
8. Next, your profile name will be displayed. Here you can log out and upload graphics for your commercials
9. the next icon is used to switch to full screen mode
10. Lastly, it will show you how good your internet connection is. Green means everything is good, orange not so good internet connection and with red the connection is very slow
If you have further questions or requests about guppyi scoreboard you can contact us as follows:
-
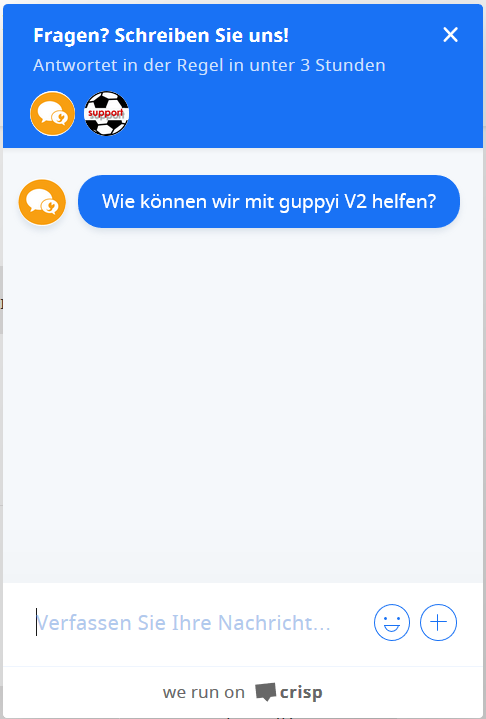
via our support tool. Just click on this symbol

in the lower right corner Now you can ask your question and we will answer it as soon as possible
- you can send us an email info@guppyi.com
-
Of course you can also reach us by phone
+49(0)3371 4039577
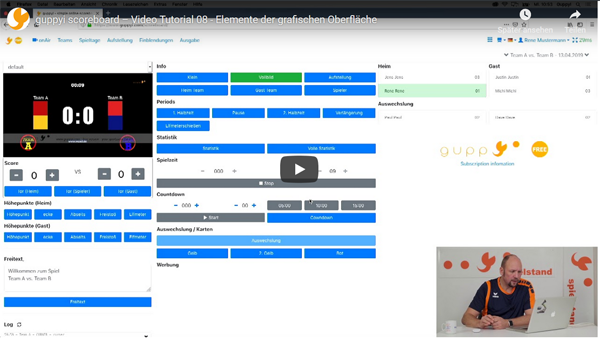
guppyi scoreboard – Video Tutorial 08 – Elements of the graphical user interface
In this guppyi video tutorial Rene explains all elements of [...]
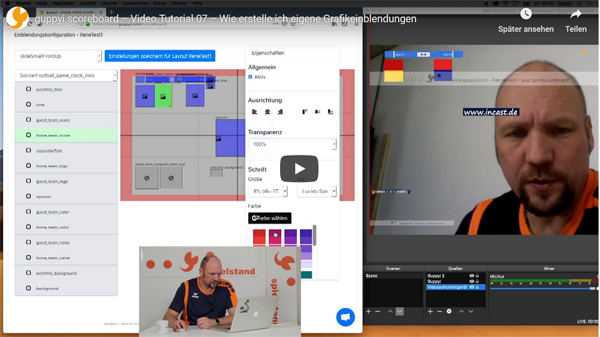
guppyi scoreboard – Video Tutorial 07 – How to create your own graphic inserts
In the seventh guppyi video tutorial we show you how [...]
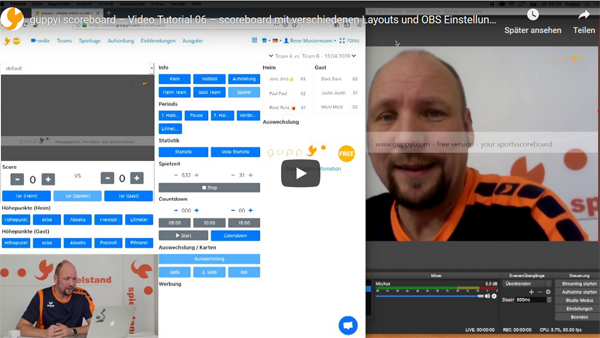
guppyi scoreboard – Video Tutorial 06 – scoreboard with different layouts and OBS settings
In the sixth guppyi video tutorial we show you how [...]
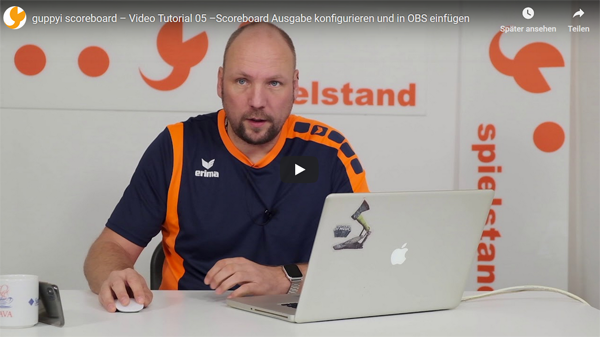
guppyi scoreboard – Video Tutorial 05 – Configure scoreboard output and paste into OBS
In the fifth guppyi video tutorial Rene shows you how [...]
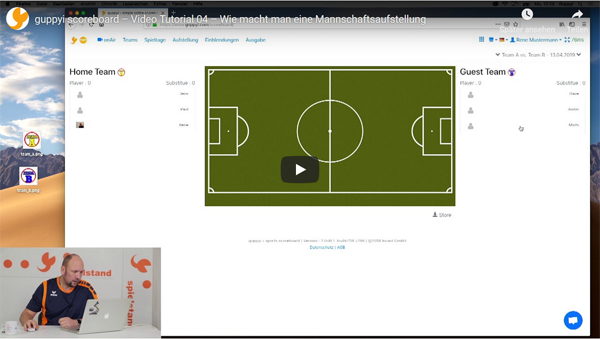
guppyi scoreboard – Video Tutorial 04 – How to do a team lineup
In the fourth guppyi video tutorial we show you how [...]
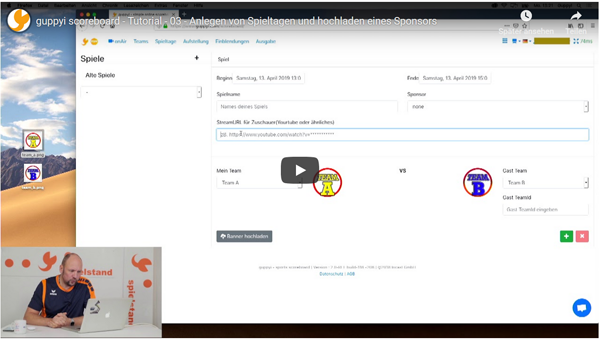
guppyi scoreboard – Tutorial – 03 – Creating matchdays and uploading a sponsor
In the third part of the guppyi video tutorial series [...]
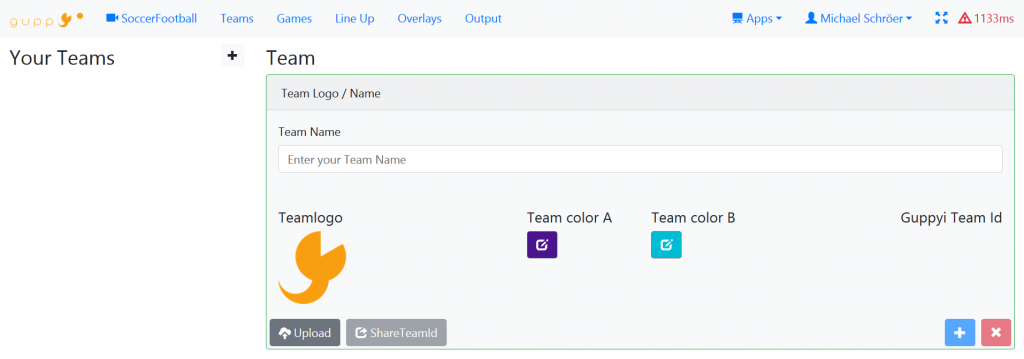
2. create your teams.
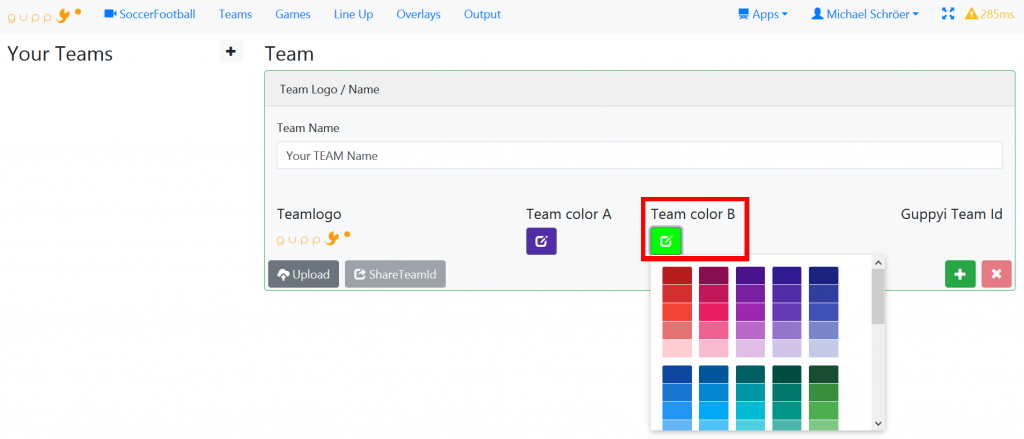
2 select an Team Color
3 add an Team Logo
4 add Player
5 Team ID
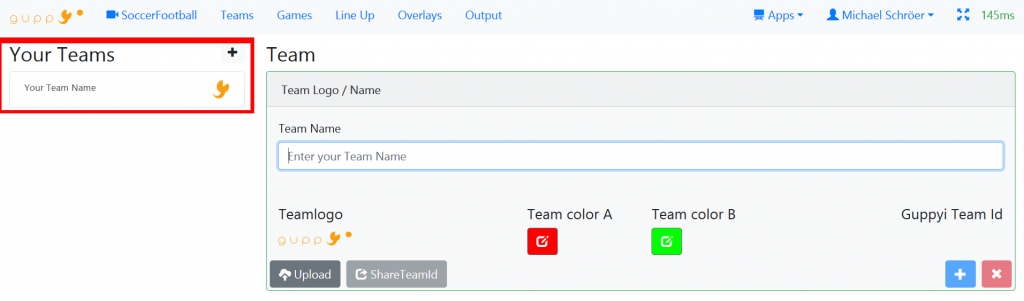
Click Team in the Menu Bar and enter the name of your team
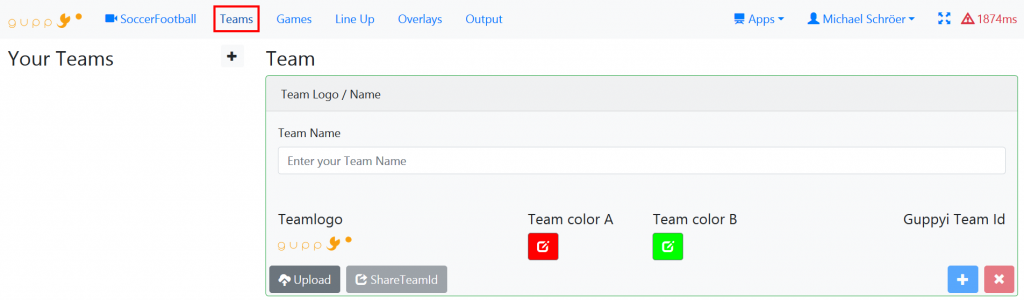
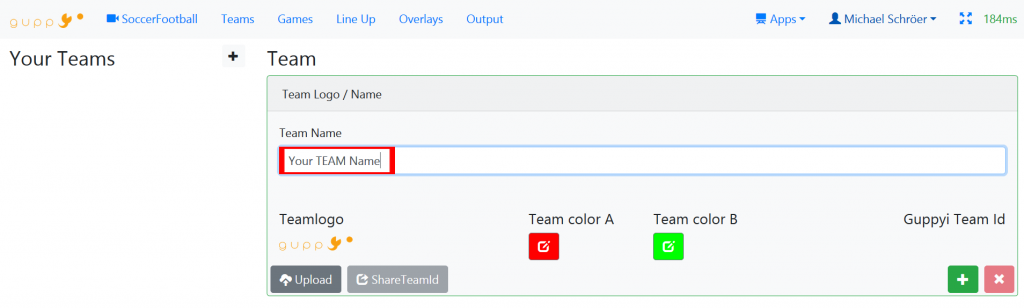
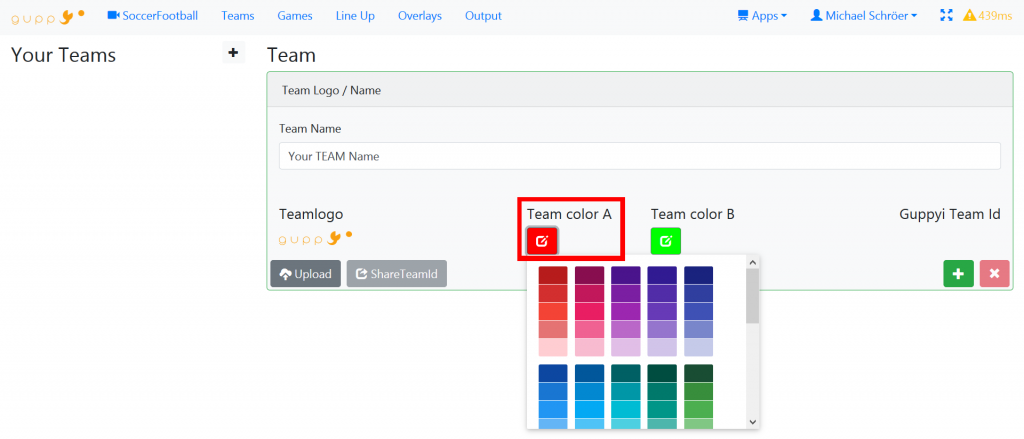
To save the team click on the plus button. But you can also make all the inputs of your team. setup the team triko color and team logo and then save it. In the next tab, the we show how to setup the triko color.
The tricot color of the teams will be displayed on the scoresheet. Here is an example of the on air graphic

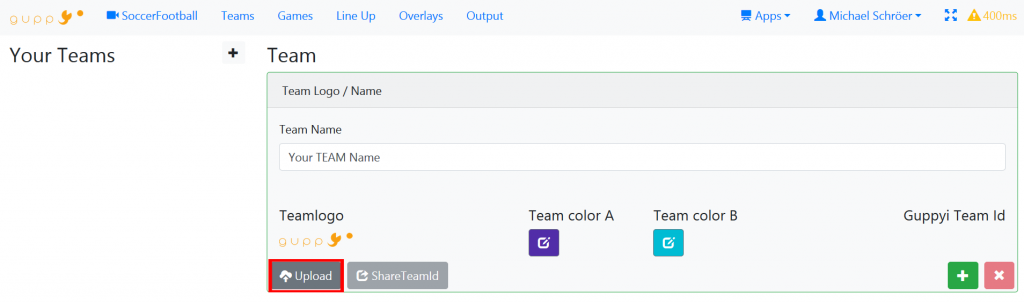
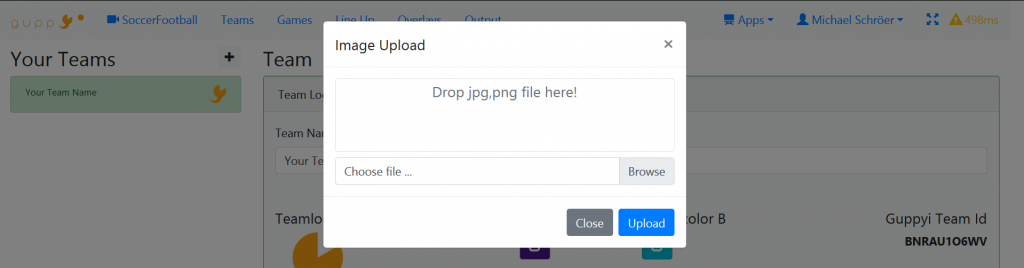
Here you can see how to upload a club logo. Click in your team below on the upload button
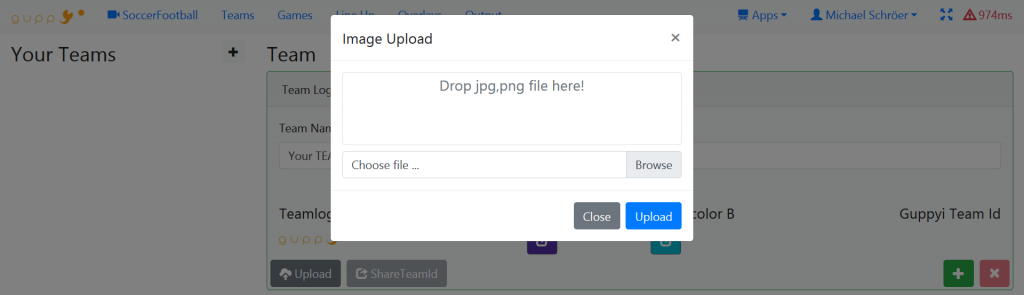
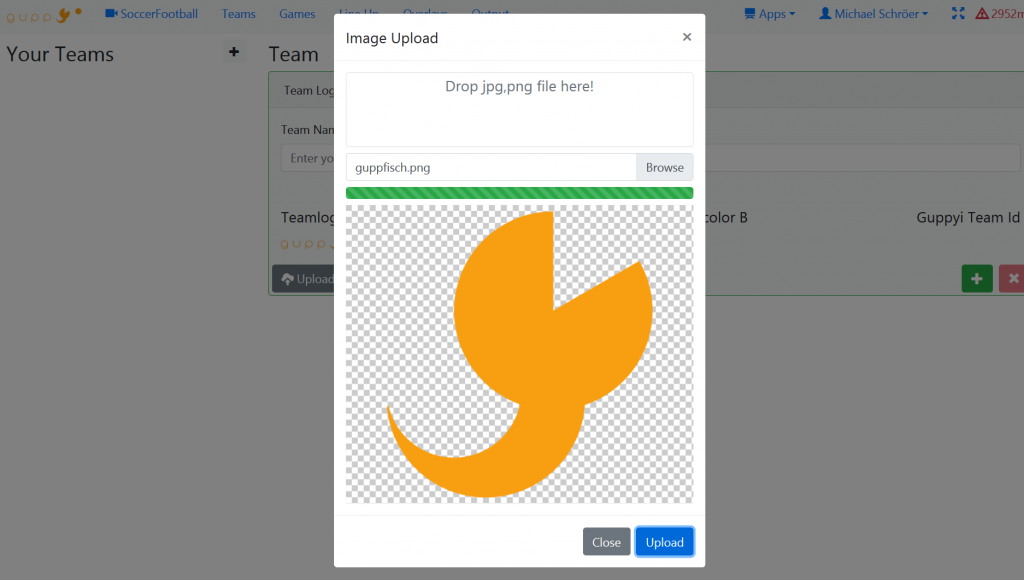
it opens an upload window and you can now either locally on your hard drive to select a logo by clicking on the browse button or you can also just drag a picture in the provided field. The logo must be either a PNG file or a JPG file. PNG has the advantage that you can work with transparent background.
Now you have to save your team.

Click on the plus button to save. As soon as the team is saved, the team appears on the left side and can be edited at any time.
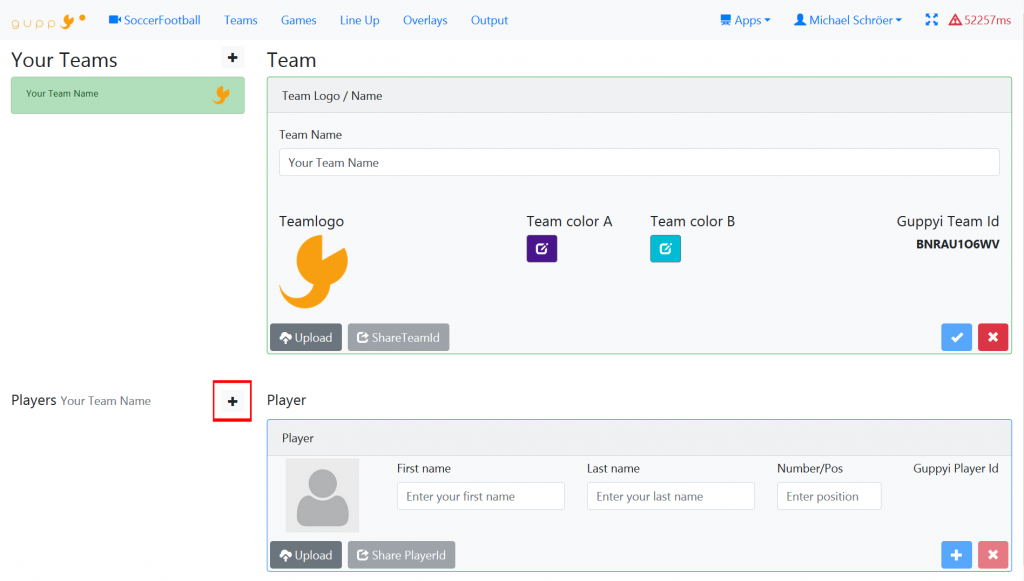
To edit the team or add a player just click on the team
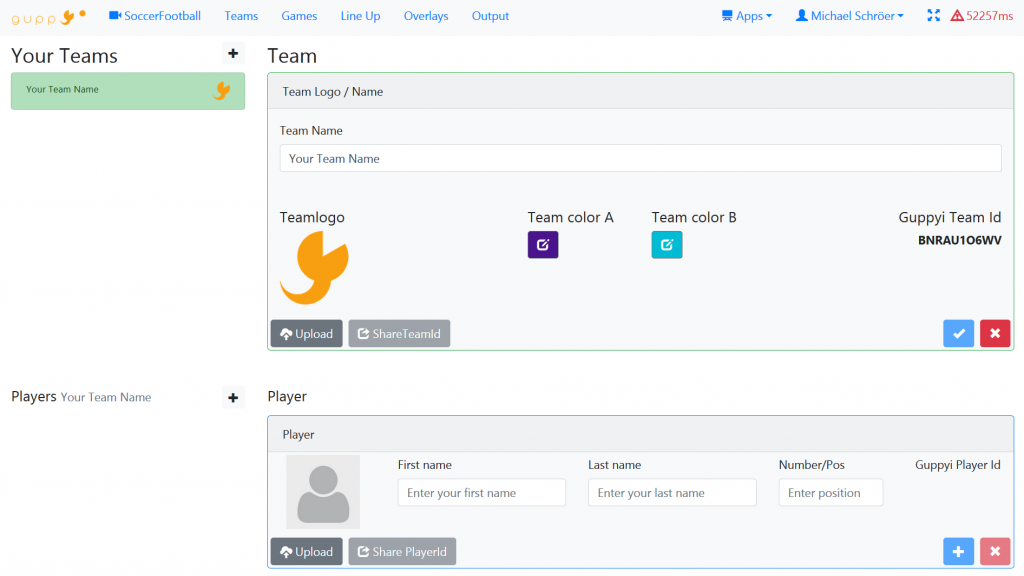
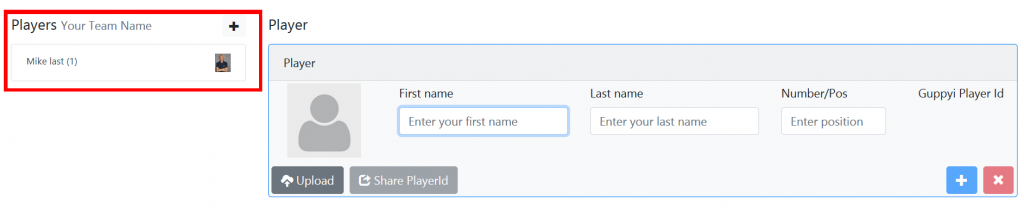
Choose the team you want to edit. And click Plus button.
Enter the player surname, lastname and player number or position.

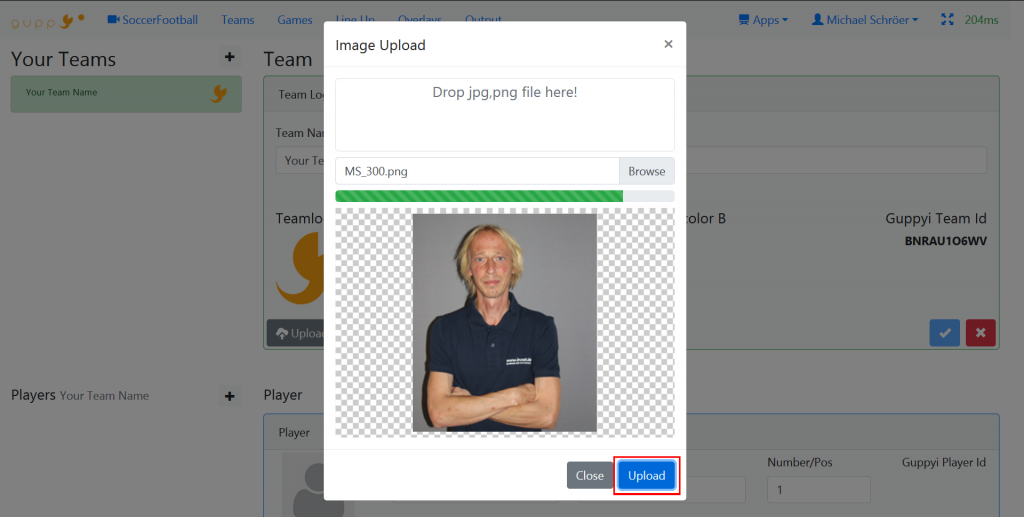
To upload a gamer image click Upload

Now you can select an image on your computer by clicking on the Browse button or simply drag a picture into the window. (only jpg or png files)
The image will be previewed. To upload it you have to click the button upload.
After uploading the image, your player appears in the player list and must be saved now. Click on the plus button in the field of the created player
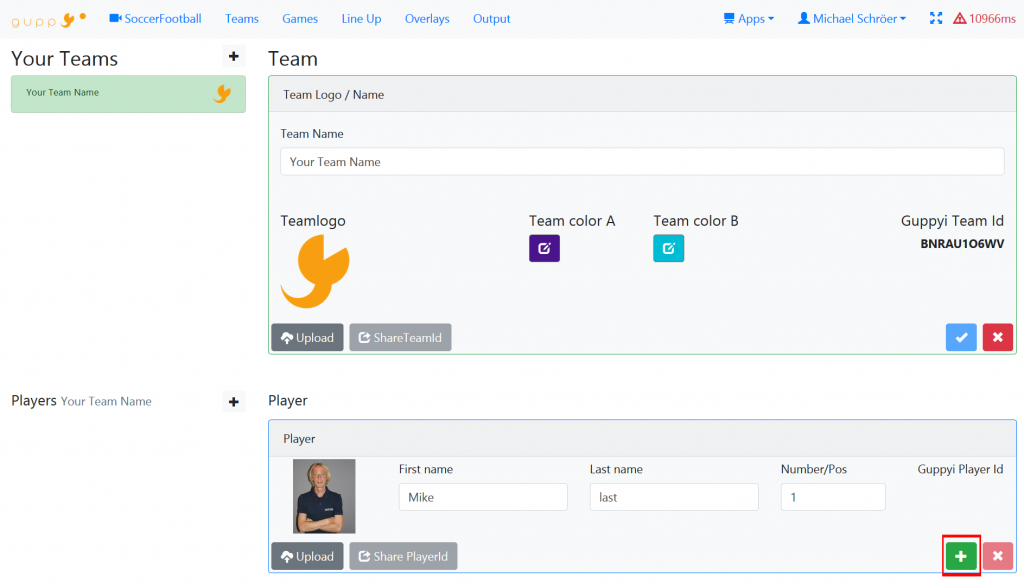
After saving the player appears in the player list on the left. Now you can create the next player and create your team. You can also edit or delete players at any time
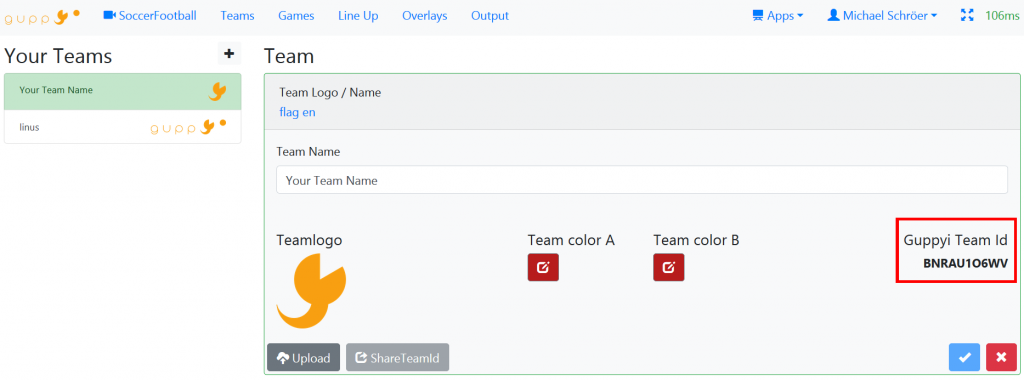
Team ID is a unique number and letter sequence, which serves to directly access the opposing team when creating a game. Of course, your opponent must also be logged in to guppyi.com. And here you will find the Team ID. Where this ID can be entered is described in the instructions for creating a game
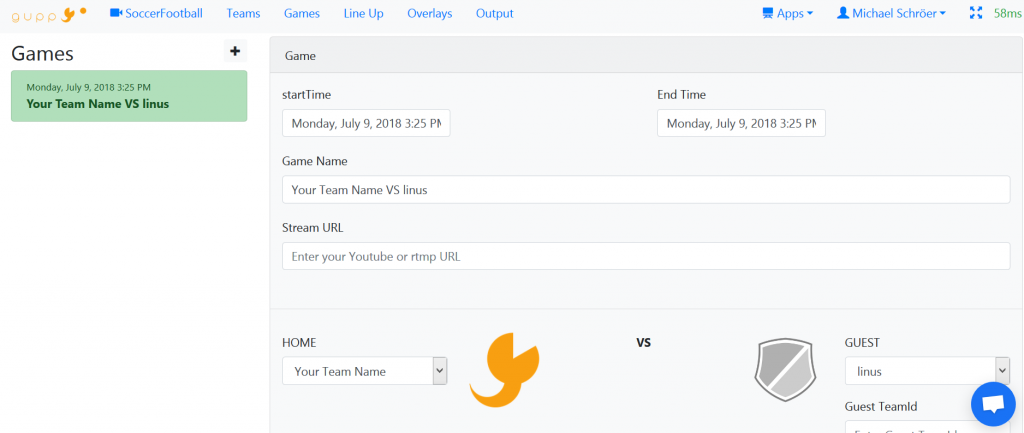
3. Create game
- how to create an game
- line up
- manage commercials
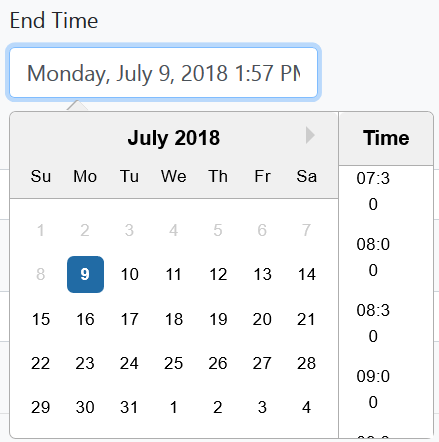
First, you have to set the time period when the game takes place.

You can easily change the date and time by clicking in the date field
Among other things, this data is necessary for our future live streaming magazine so that we can announce when which game will take place.
Next you can enter a name for the game, otherwise the teams names will shown.

Here you can enter the URL where your livestream can be seen.
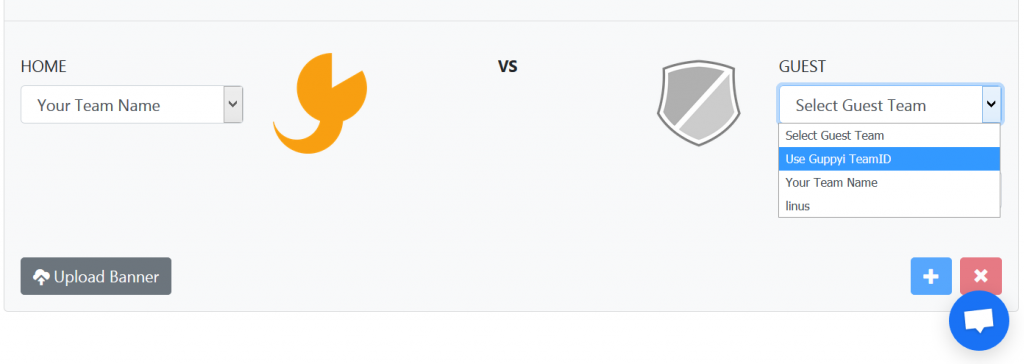
Next, you choose the teams that play against each other.
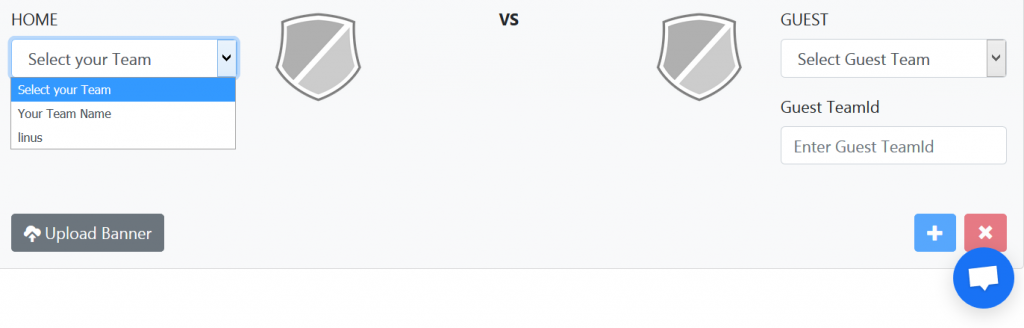
In the drop down menu all teams which you created appear. After selecting the team, the club logo appears when you have created one. With the visiting team you also have the opportunity to access the user guppyi TeamID and import the team for the game. The enemy team must send you this ID. He must be registered with guppyi as well as you and have created his team there.
After selecting the team, the game has to be saved. Click on the plus button and your match will appear on the left side of the page.
Now you can create more matches or you can do the team line-up.
To make the team line-up, click on Line-up in the menu. If you do not make a lineup, you can not use some functions in the scoreboard. Namely show substitutions, show cards and introduce players. So if you want to use all the functions, the lineup is required.
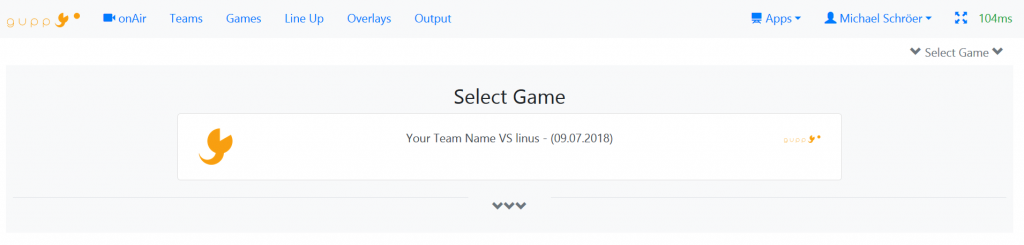
Next, you choose the game for which you want to do the setup. In our case, only one is displayed
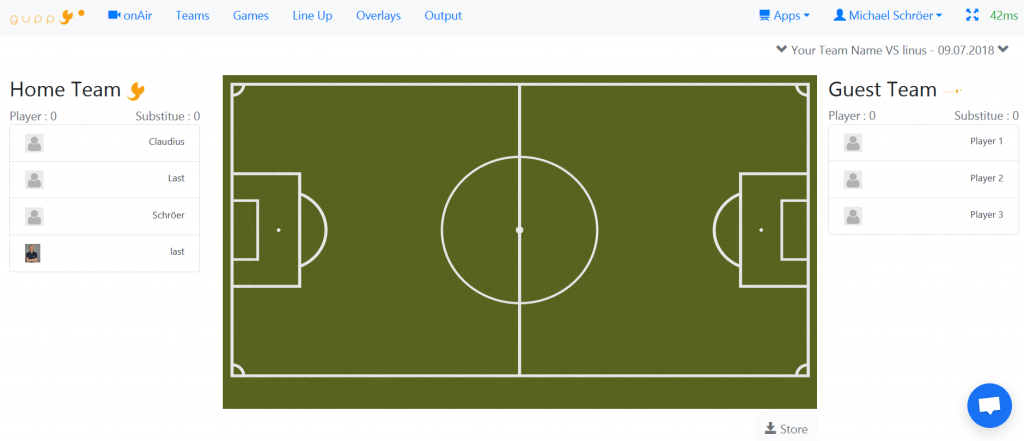
On the left the players of the home team are shown and on the right the players of the opposing team. In the middle is the pitch where you can position the players later as they play. Below is the main button Store. After you’ve done the setup, you have to save it as well
Shown are all the players you have created for the team. Now you can choose the players to play and the substitutes. Click on players once these are the players playing in the starting lineup.

The players can now move freely on the field to show the position if necessary.
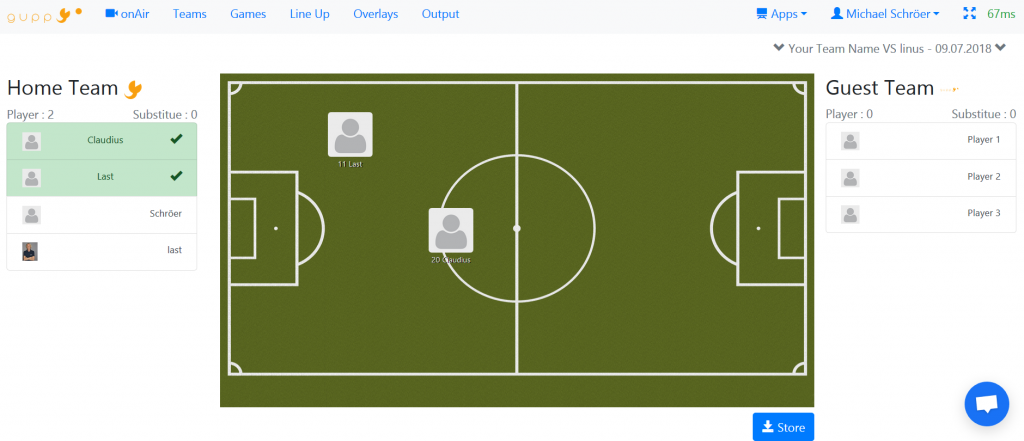
To divide a player as a substitute you have to click on it twice.
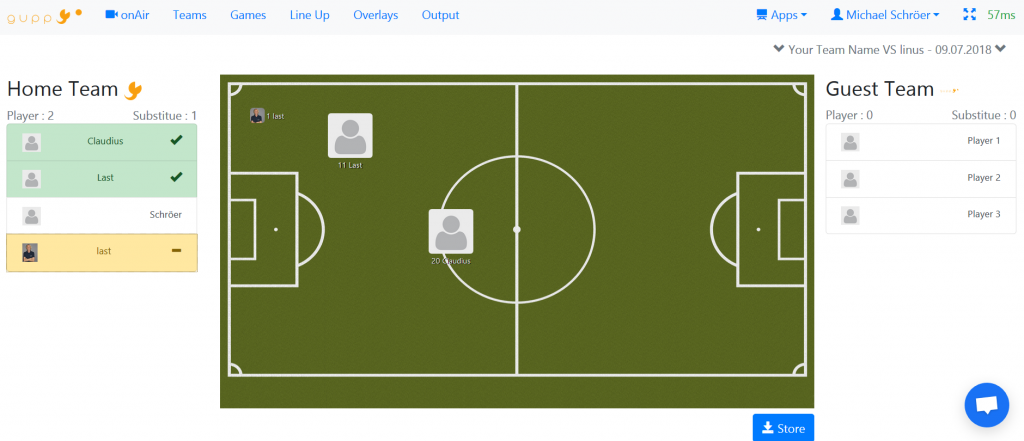
Substitutes appear smaller in the field. Just drag them to the sidelines
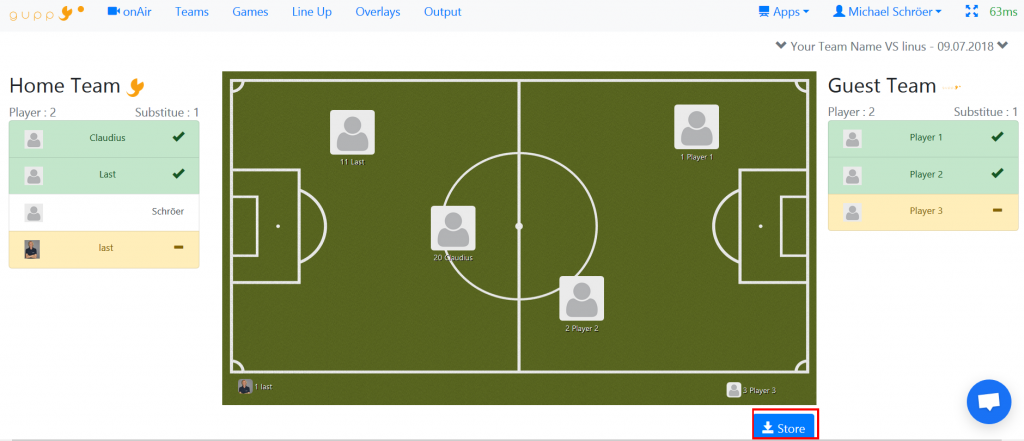
Now it is very important to save this list. Click on the store button below
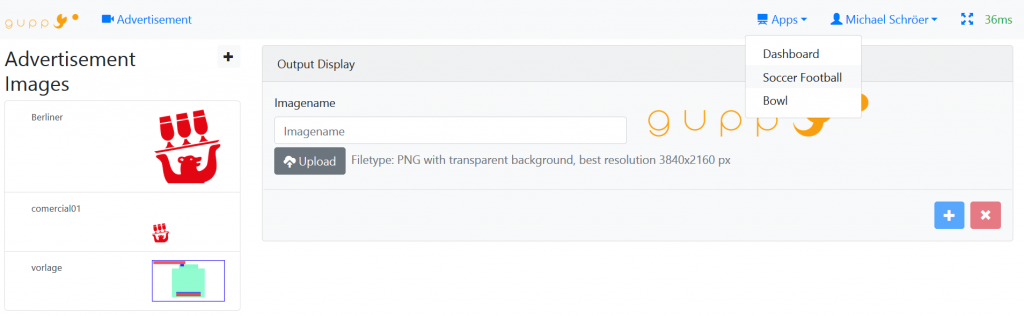
To see ads from sponsors or self-promotion of your club, click on your profile

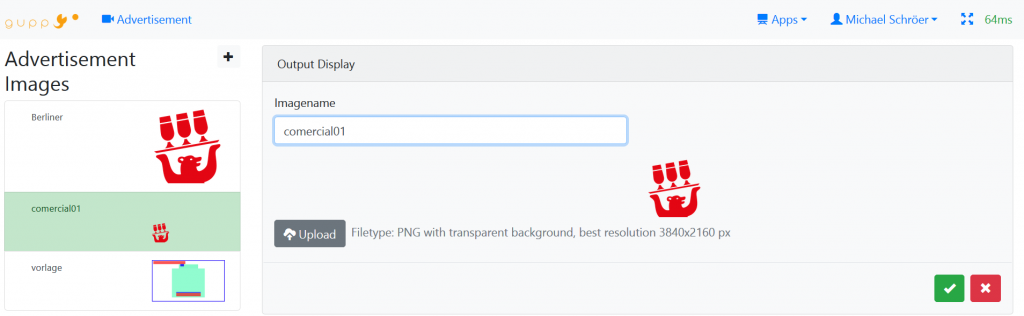
You can upload ad impressions under Advertisement Settings.
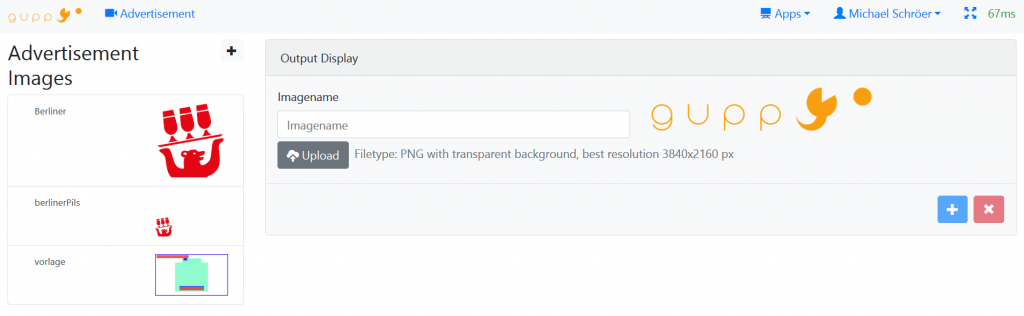
After uploading the image, you have to give the ad a name and save it. For every advertisement you create a button appears in the scoreboard user interface.
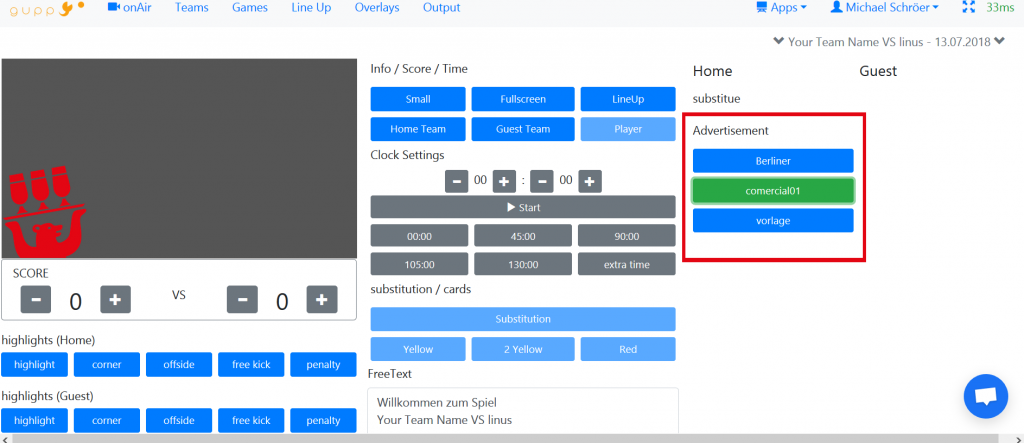
Now if you switch to the scoreboard interface
In our case, you now see 3 new buttons. Click and your advertisement will be displayed!
To design your advertising, you can download the following template:

The template will help you place your ad. The colored areas are located where other elements are placed such as eg. Substitutions, cards, etc. In the graphics program simply place this template as the lowest level and place your advertising on it where there is no colored area. Finally, hide the bottom layer and save and upload the graphic.
4. Output/ Streaming / OBS and XSplit
- generate the Output URL
- integrate the guppyi scoreboard output URL in OBS
- integrate the guppyi scoreboard output URL in XSplit
Click on Output there you can create links that show your scoreboard
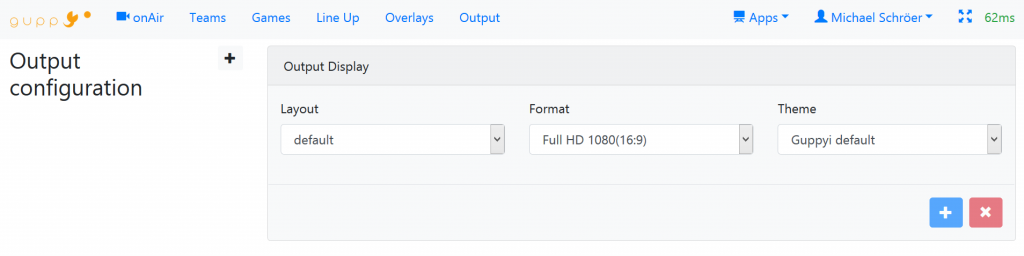
Layout and theme settings are in the free version only those of us online eligible selected. To generate an output URL click the plus button
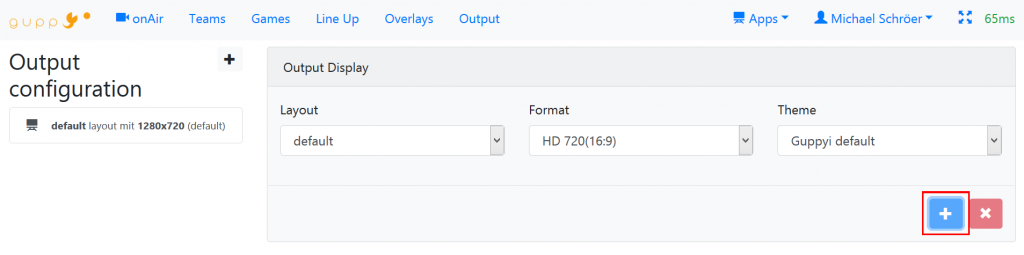
Now click on your output layout on the left and your output URL will appear
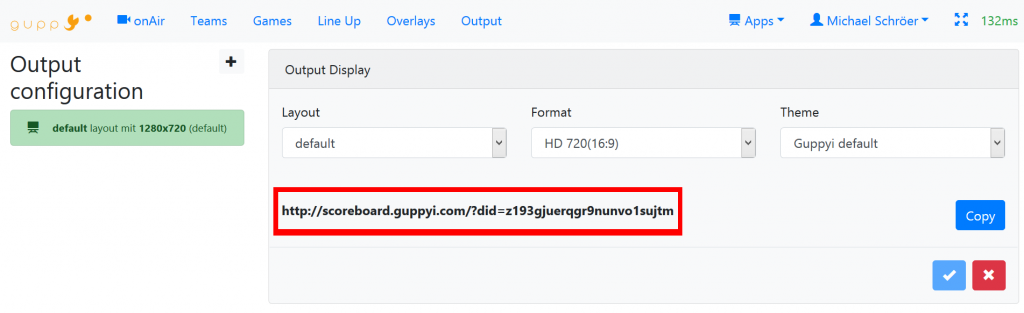
Now you can go to your browser or add it to your streaming software as a browser source. You can generate multiple URLs. For each recipient or software you need a URL and you have to do these settings before each game.
OBS Open Broadcaster Software is a streaming software that allows you to stream to different streaming providers (Youtube, Facebook, etc.) OBS is an open source software that you can download here:
https://obsproject.com/
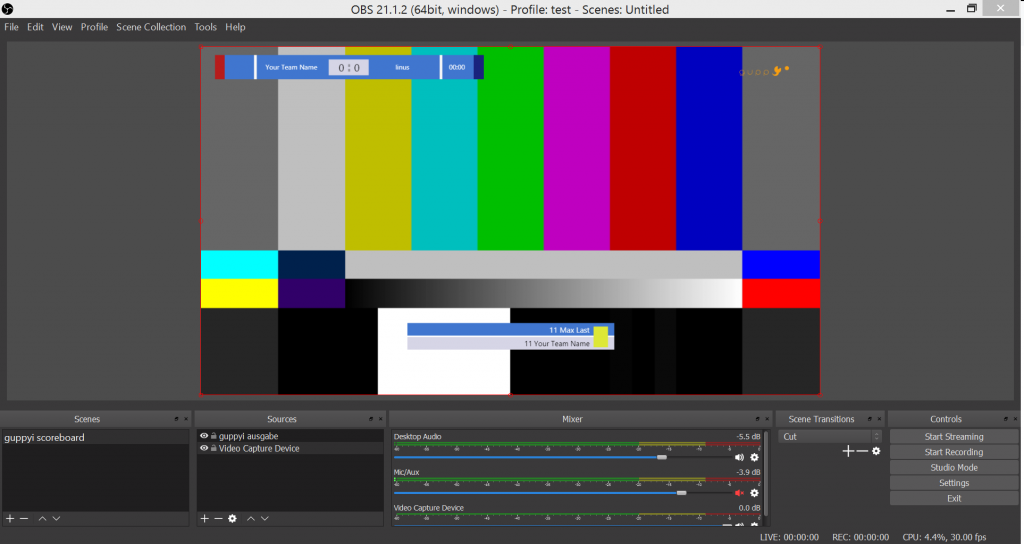
After the installation start OBS Software and you will see the following picture:
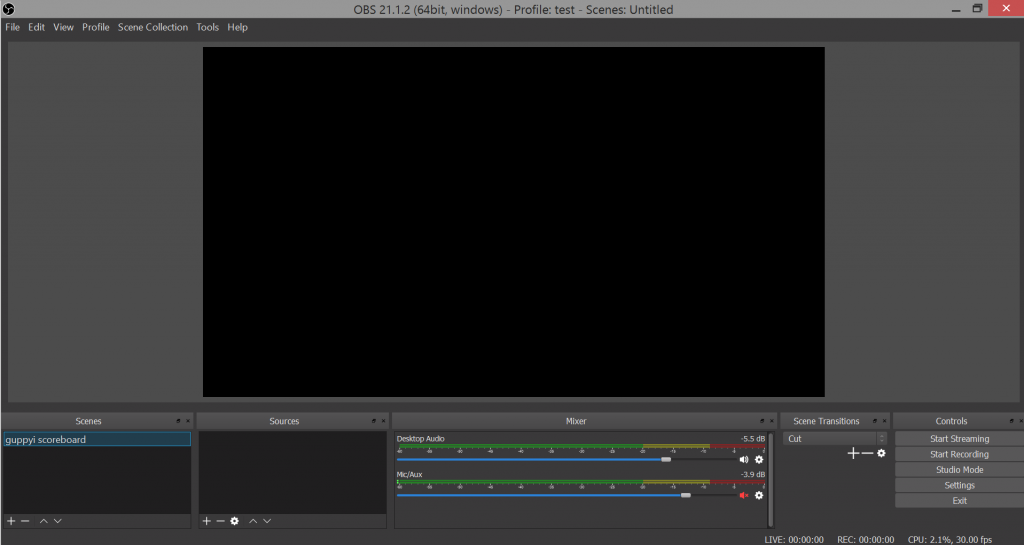
in OBS you can create different scenes to which you can then assign different sources. You can also switch between the scenes. In our case to display the scoreboard we create a scene with the name guppyi scoreboard:
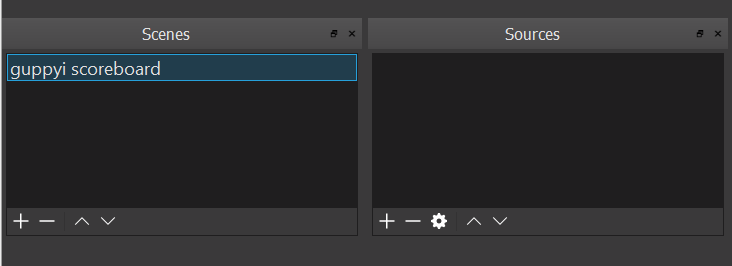
either rename the existing one by clicking the right mouse button on the existing scene

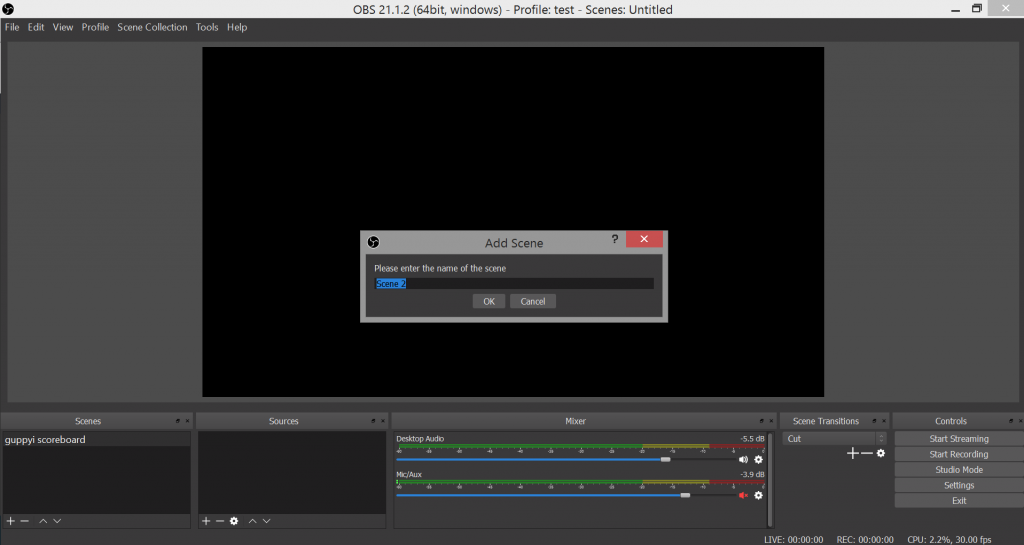
or create a new scene by clicking on the plus button
Now you can set what you want to see in the scene. In our case, you want to display the graphic overlays that you control over guppyi scoreboard. In the tutorial before that, you’ve seen how to create a guppyi output URL that you must insert here as source as follows.
You can easily copy the output url by clicking on copy. Then you click on the guppyi scoreboard scene you just created and click on plus sign below the Source window. Since you choose Browser Source.
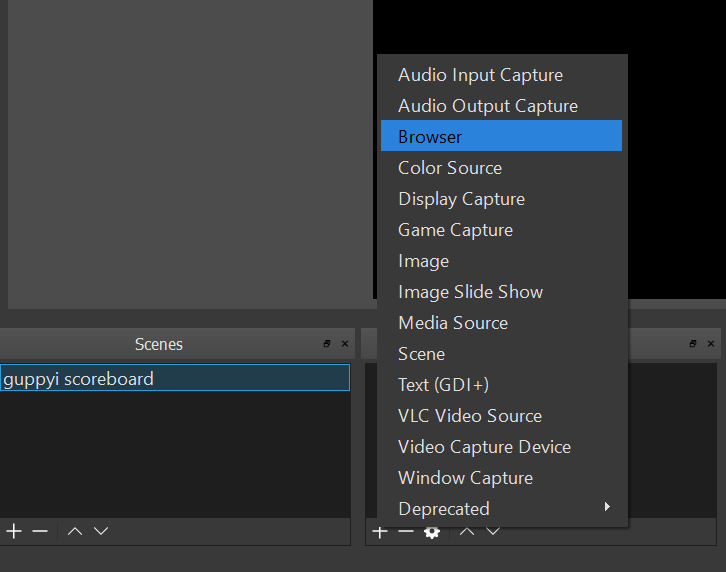
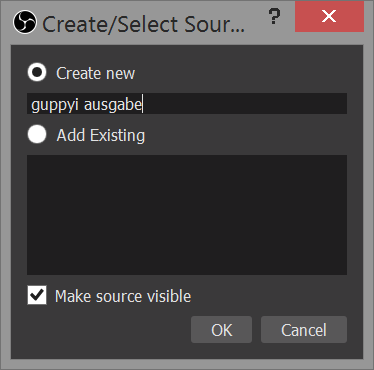
The following window opens and now you name the source (eg guppyi output) and click ok
Now a window opens which shows the setting for the Browser Source. As standard, the website of OBS is displayed.
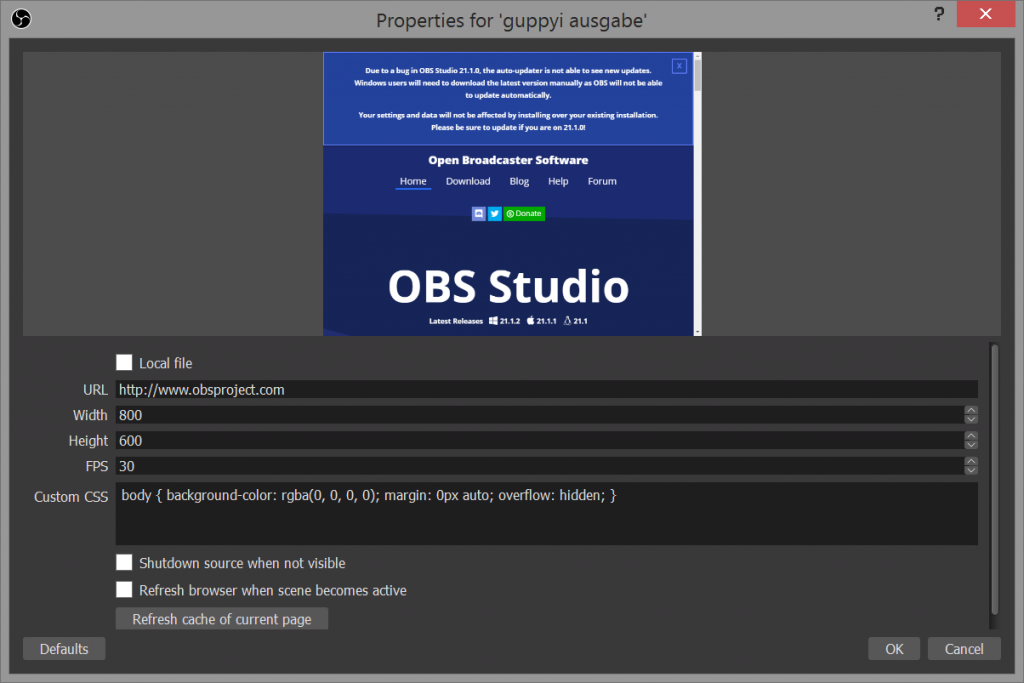
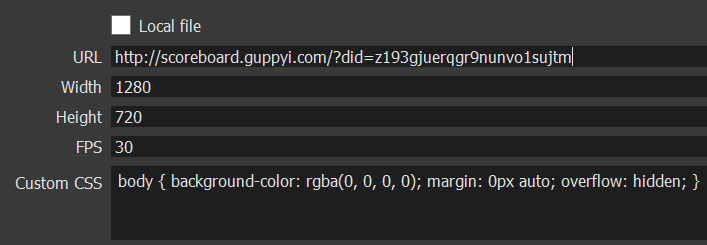
In the window, enter the guppyi output URL in the URL field. Width 1280 and height 720 and click OK
Now OBS connect to the guppyi output page and this connects to the guppyi server
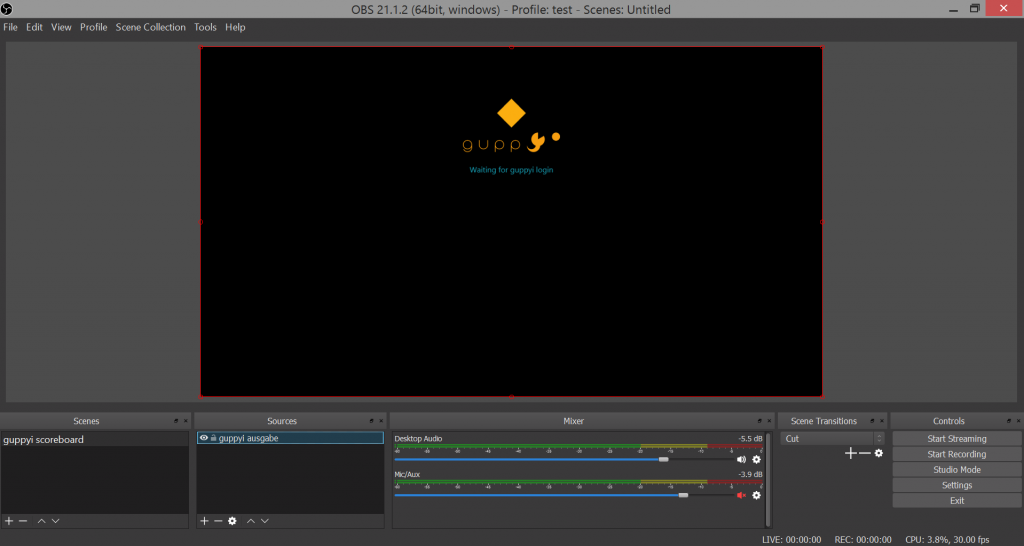
if the page has connection to the server, the guppyi logo will appear in the free version at the top right.
Now you can control the graphics with guppyi
Next you need to add the live video of your game to the guppyi Output. To do this, click the plus sign under Source again
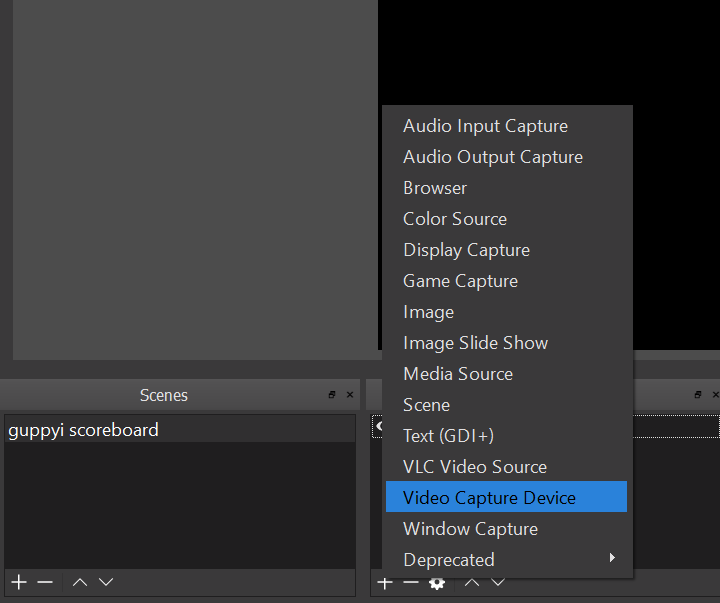
e.g. video capture device for a webcam
After selecting the video source and after confirming with OK, this source is placed over the Existing guppyi output source
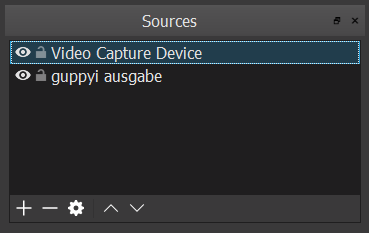
Simply click on a source and use the arrow up or down to arrange the sources so the guppyi output is at the top.
Setting with XSplit are similar see next instructions.
Your Content Goes Here
5. start your game / scorboard graphic interface/ control elements
A guide we put online today 10.07.2018